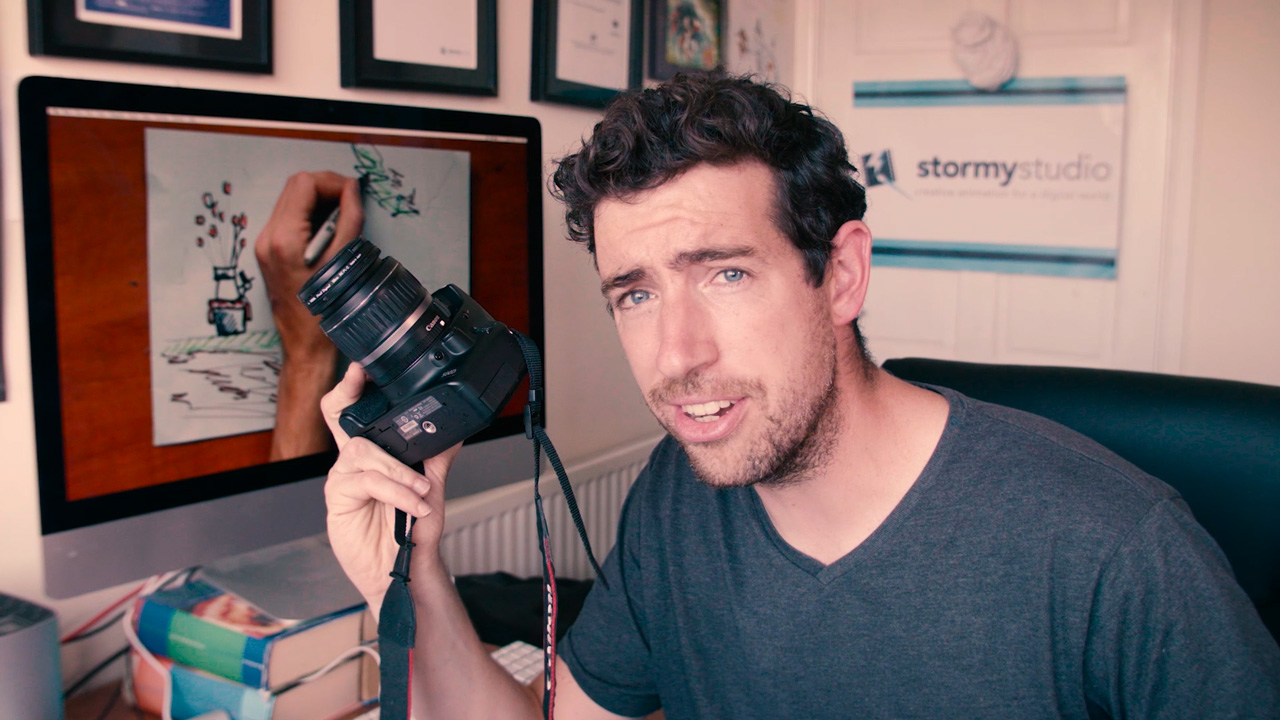
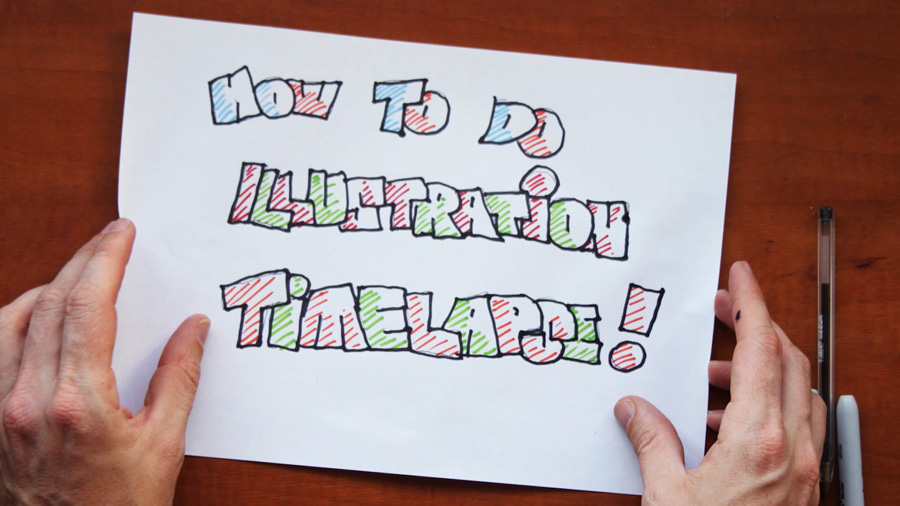
In this video I walk you through Stormy Studios own setup for recording an illustration time lapse.
The rig would also work perfectly for any top down filming or other sorts of time-lapse (i.e. stop motion, painting, writing etc.)
In this video we look at:
– What kit you need
– How to setup the rig
– What software we work with (DSLR REMOTE PRO)
– How to use it
– Plus a quick run through of the post production process using Adobe After Effects CC.
*Apologies for the varying quality of audio, it was all done a little last minute and the quality mic I thought was recording basically wasn’t so I made do with the cameras own audio.
Our guide on how to build a rig to shoot a top down illustration time-lapse:
First of all you’ll need a DSLR camera.
We work with a now slightly old Canon 500D SLR.
Which shoots 15megapixel stills. Which gives us plenty of resolution to play around with zooming to the illustration in post.
The lens we normally work with is an 18 – 55 mm zoom lens so its wide enough to work with our setup plus it has the benefit of the zoom to perfect the image frame without having to touch you’re constructed rig.
We work with a Canon 500D DSLR camera
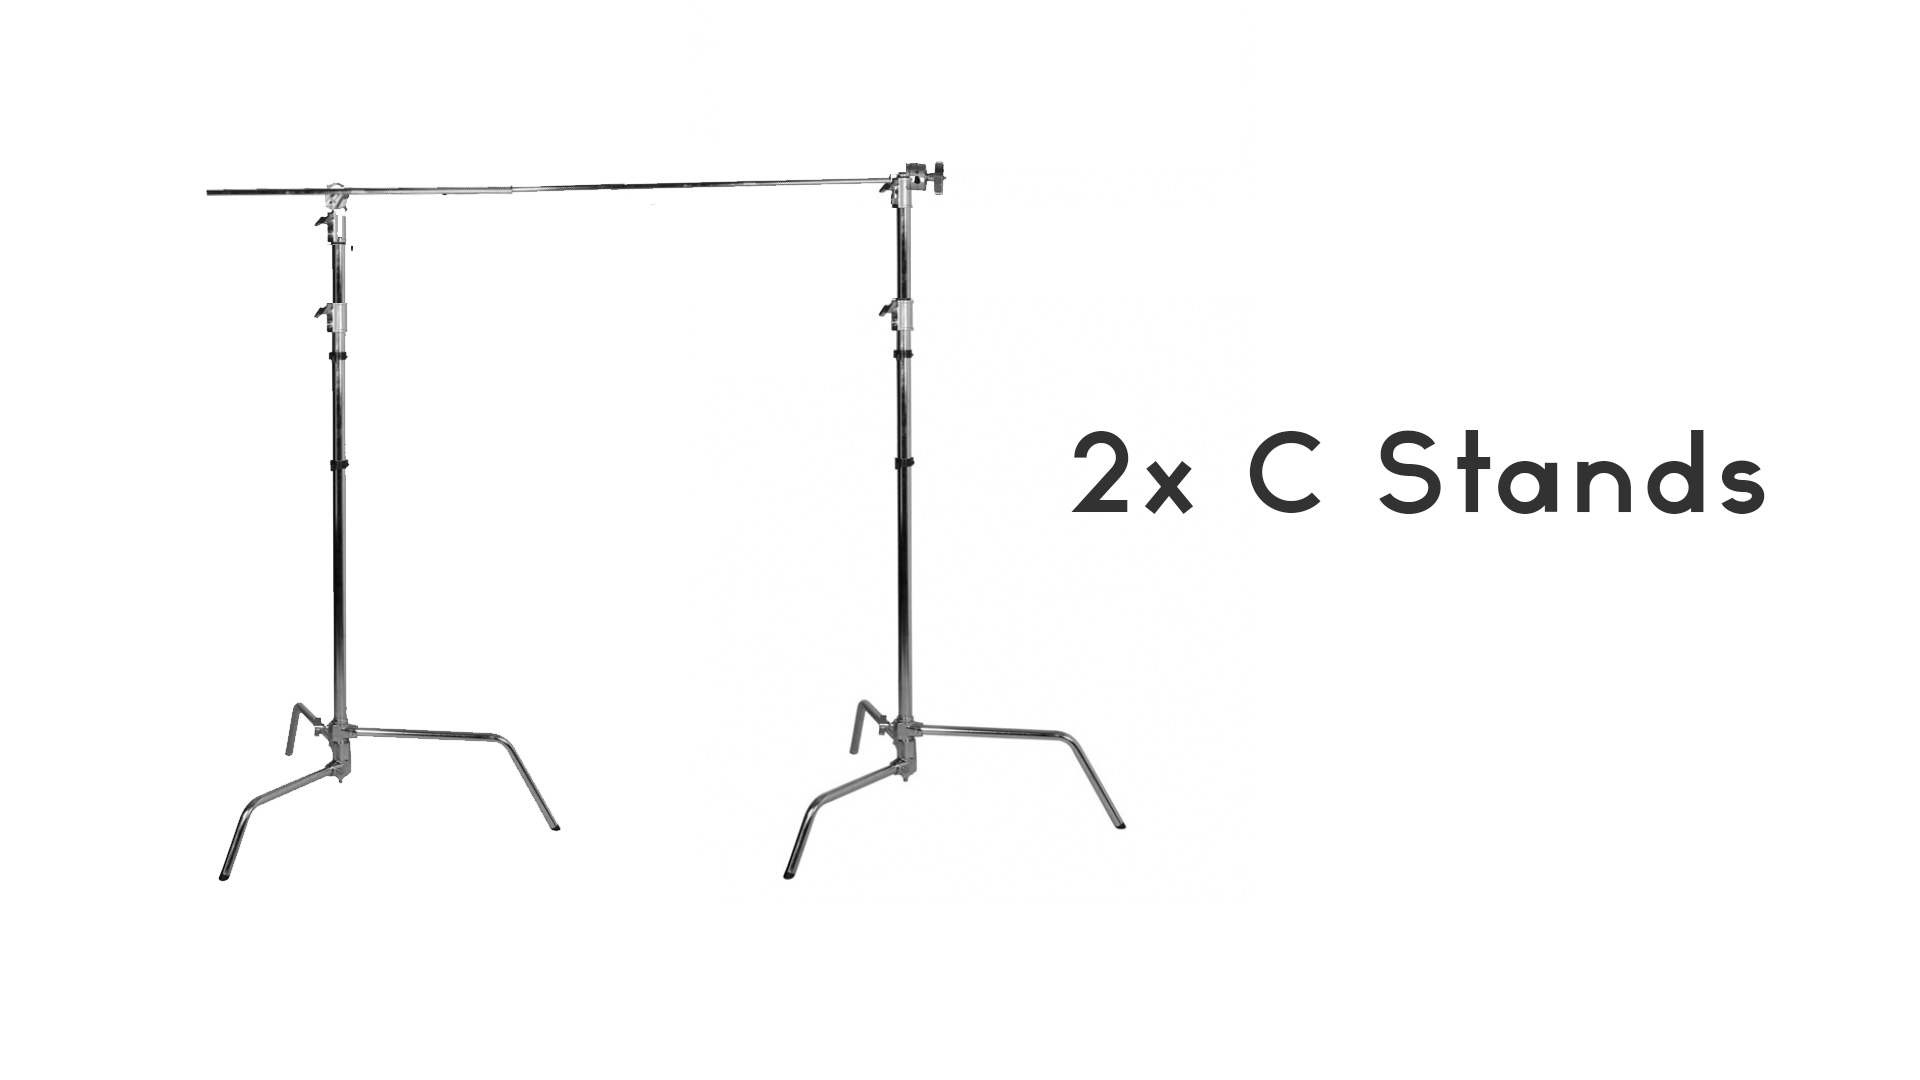
Construct the main frame using two C stands for stability with a horizontal metal bar.
We’ll then go through the process of fitting the camera, cables and computer software.
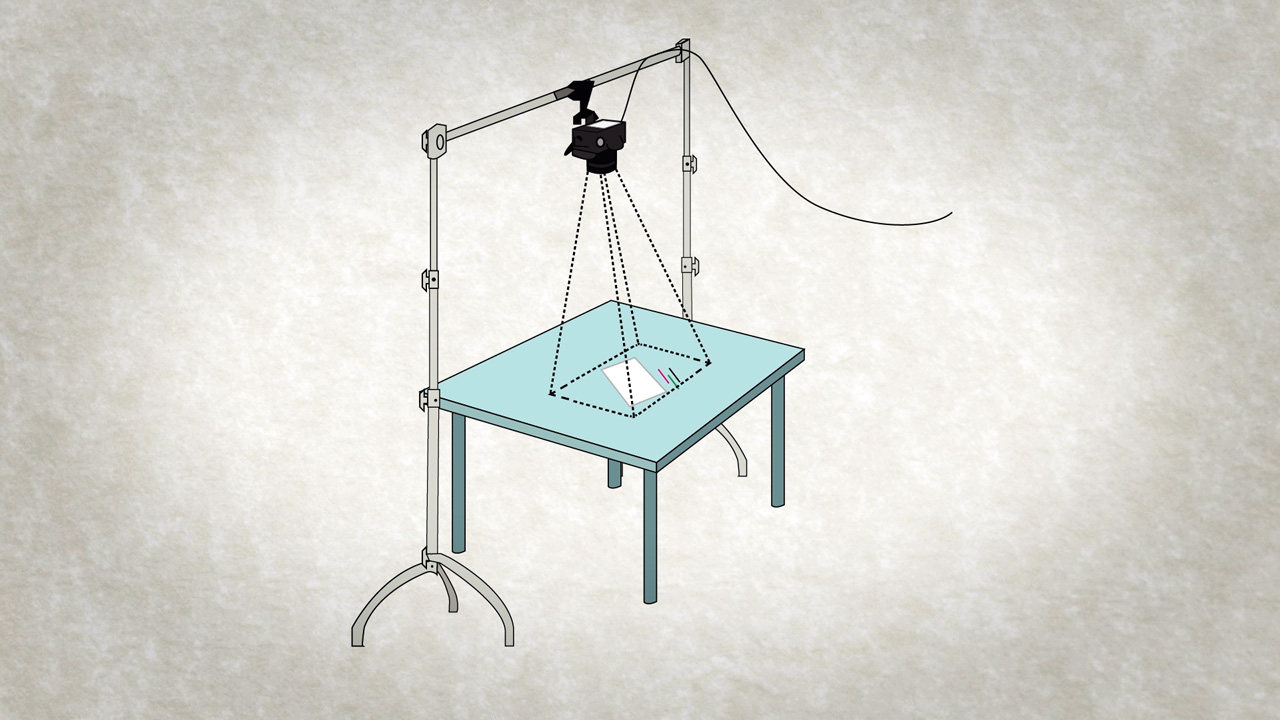
Illustration of the top down camera rig
Tape a pen or pencil to the bar to give the following clamp something extra to grip on to and to stop the clamp slowly rotating once it has the added weight of the camera.
Fix a Manfrotto super clamp with a Manfrotto 155 Double Ball Joint Head to the horizontal bar.

Position the clamp as needed and mount the camera. If you have a strap on the camera it makes sense to wrap it over the top of the clamp or tie it off as an added security measure. (Plus it keeps it out of the shot).

Plug in an AC power adaptor for the camera as it saves having to stop the illustrator mid flow to change batteries. Plus it prevents any unwanted movement to the camera or rig.
Plug in the cameras micro USB plug, and use a 3m USB extension cable to plug it into your computer (Mac or PC).
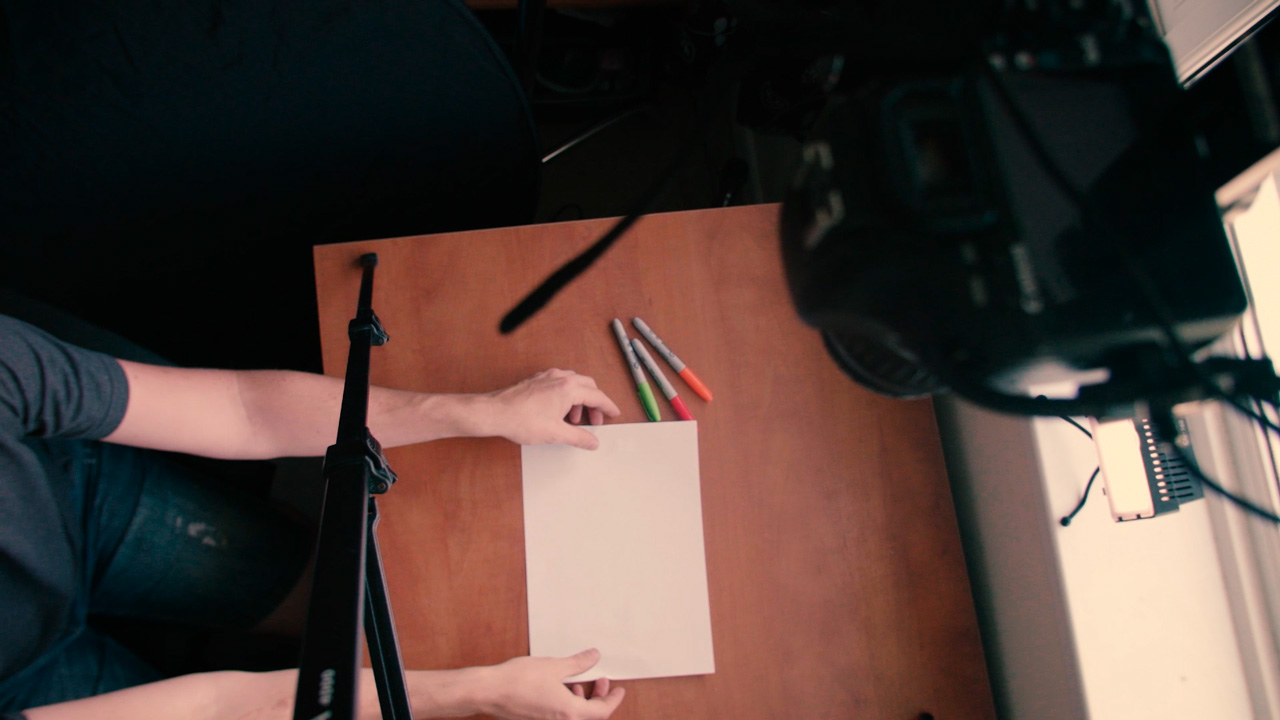
Position your paper on your desk. (You can perfect the position once you’re previewing your still on the computer).
Use a light or 2 to help control the shadows cast by the illustrators arm on the paper.
Now over to the software.
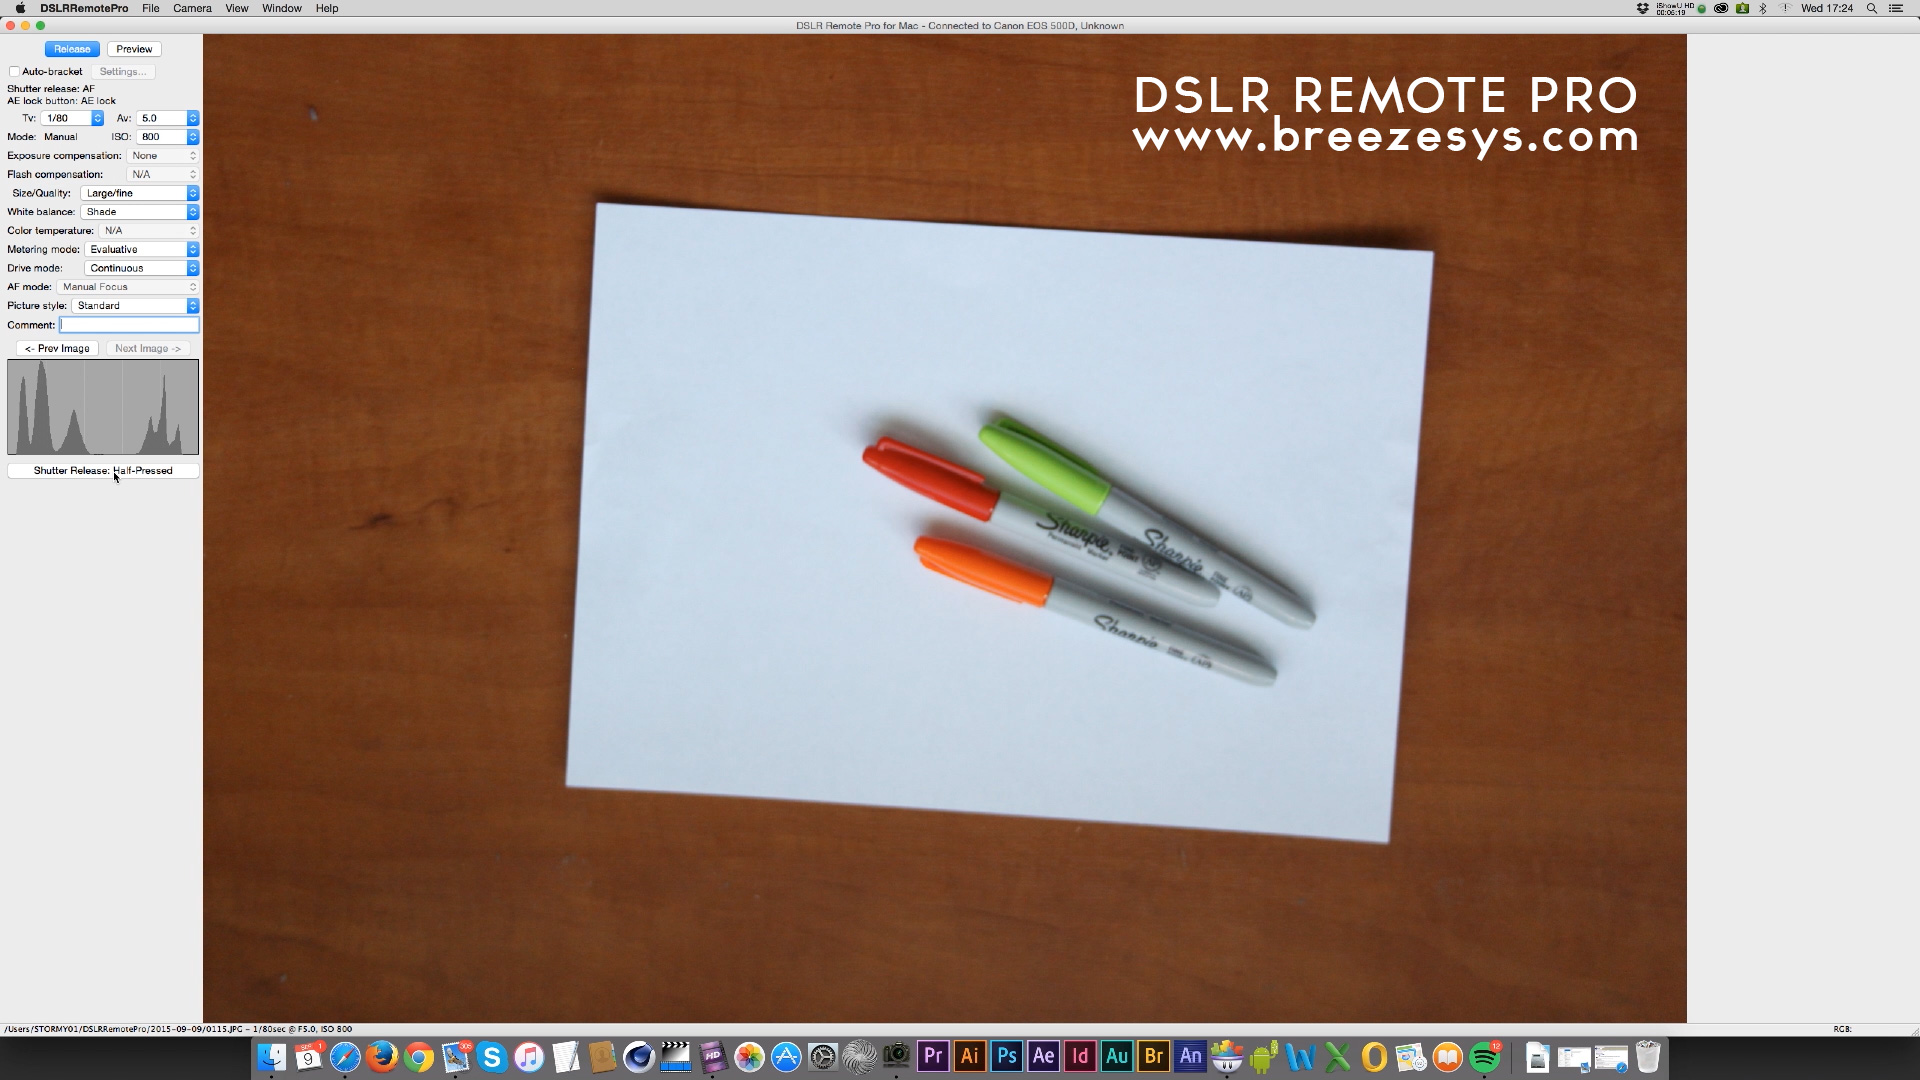
We work with DSLR Remote Pro to control the camera, setup whether to save the stills directly to the computer (great for ease of use but does slow down the captured frame rate).
We also use Accessibility functions on the Mac to allow us to tell the computer we’re holding down the mouse button to keep the shutter firing on the camera. (See the video for a brief how to on this). Essentially press OPTION-CMD-F5 which brings up a quick Accessibility menu. Then turn on ‘Mouse Keys’ now with the mouse positioned over the shutter button in ‘DSLR Remote pro’ press M (if on a keyboard without a numeric keypad) or ‘O’ on the numeric keypad. This will keep the camera shutter going and you’re ready to go.
You can press the ‘.’ key to stop the camera taking stills. (*though we generally find the camera gets carried away and the only way to stop the taking of stills is to close DSLR Remote Pro. This may have been fixed in a newer version).
A quick bit of post production:
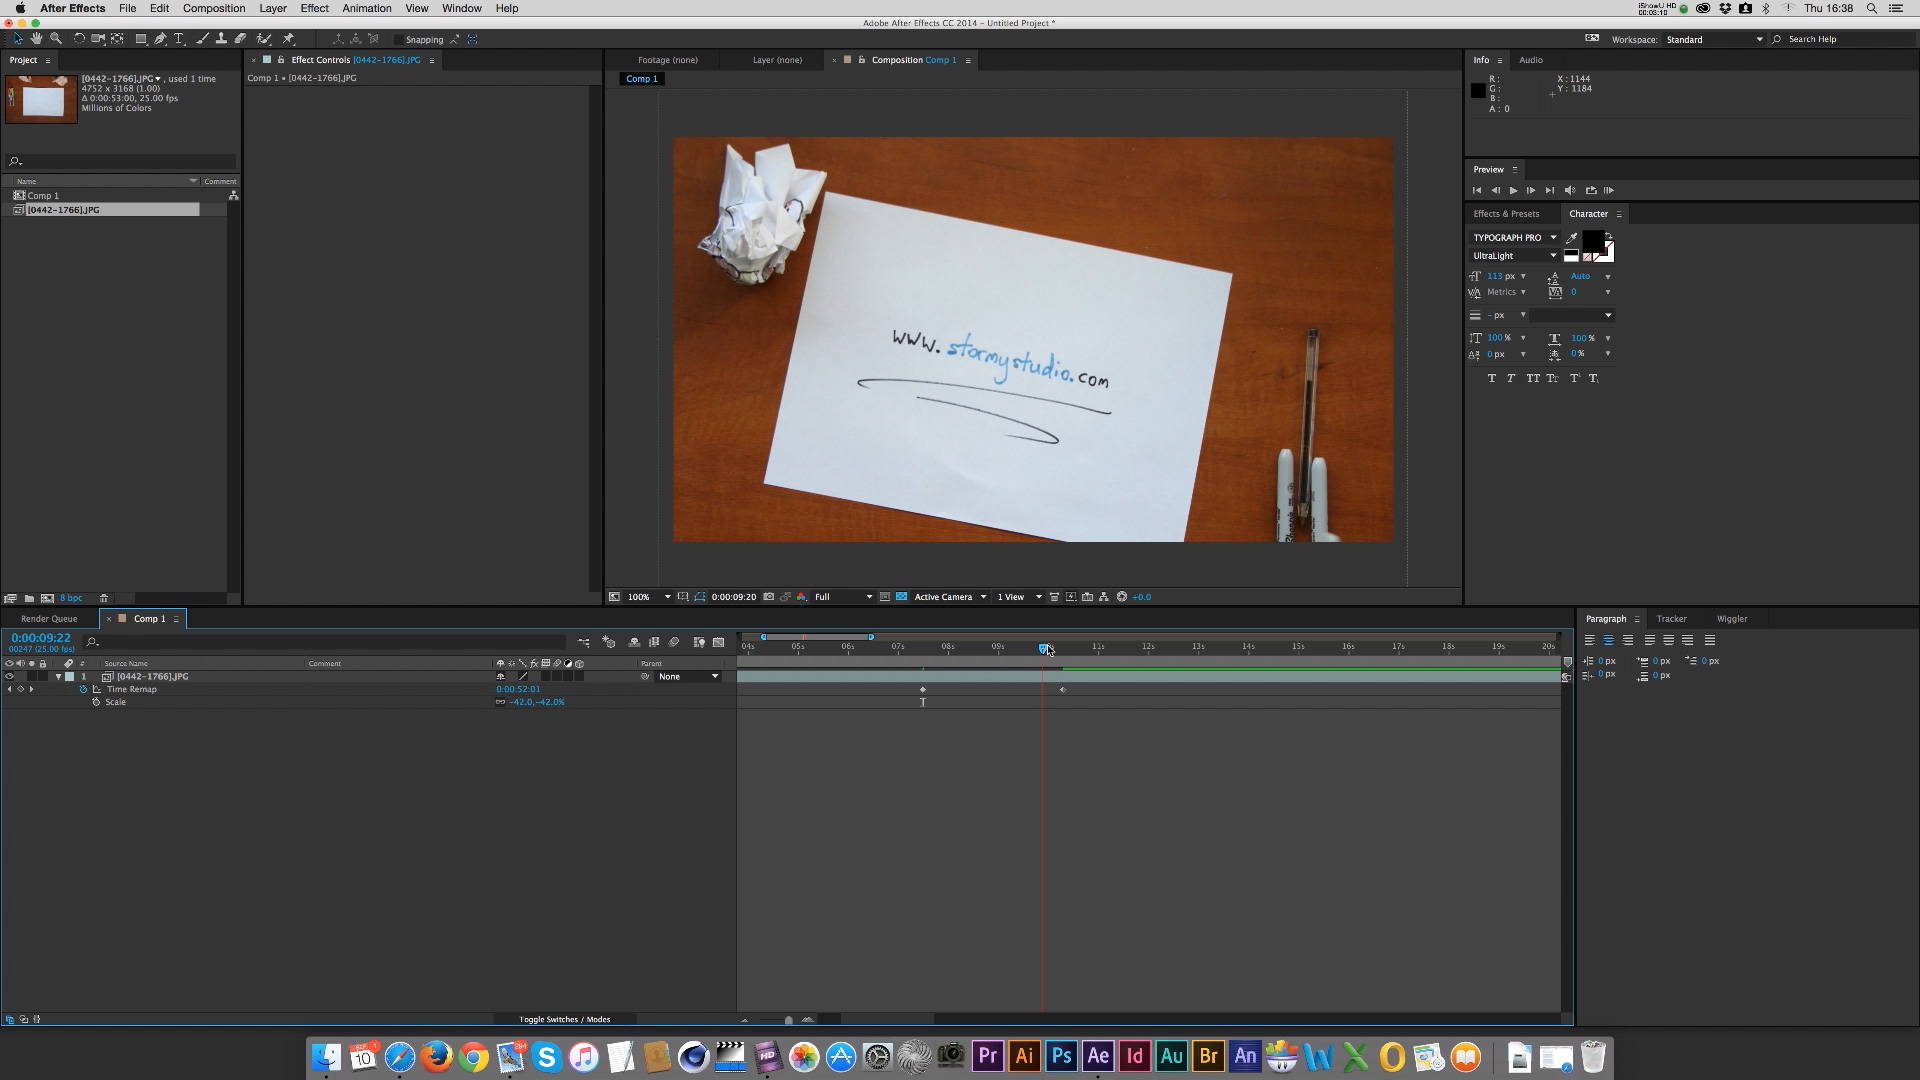
Import the still sequence of the time-lapse illustration into Adobe After Effects CC.
Drag the imported sequence into a new HD composition.
Scale, flip and rotate the image as needed to perfect the visual.
Then use Time – Time remap to move and set keyframes to control the speed of the sequence.
Do some quick colour correction using the ‘Brightness and Contrast‘ effects. Plus add a ‘Curves’ effect to further control the brightness and colour.
Add to render queue and export your final image…
..job done.
You will have now successful build a rig, learnt how to record a time lapse illustration sequence using DSLR Remote pro to control the camera and save the images.
Then quickly brought the stills into After Effects to create a final video file.
I hope this tutorial helps others in recording illustration time-lapse.